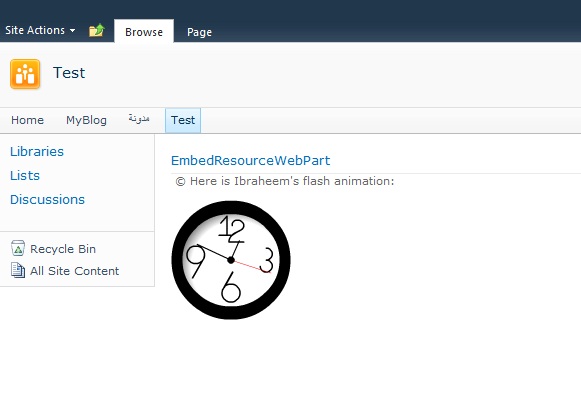
If you are looking for a quick and easy guide on how to
embed shockwave and flash files (.swf) into web Web parts then look no further!
As it is a bit different to embed .swf files (and other
resources) into SharePoint 2010 than it was in SharePoint 2007, I split the procedure into 2 parts: the Visual Studio part
and the SharePoint part.
The Visual Studio Part:
1. Copy the resource file (.SWF)
file inside the Visual Studio project folder directly, or put it in a custom
folder.
2. Select the .swf file -> properties -> set
the build action property into ‘Embedded Resource’
3. Now, construct the resource FILE-PATH as:
ProjectName.FolderName.FileName.Extension
Example:
My project’s name is: ‘EmbedResources’, and
the file ‘Clock.swf’ is directly under the project. Then the FILE-PATH will be:
“EmbedResources.Clock.swf”
4. In AssemblyInfo.cs put the following line (use the FILE-PATH from
point 3 above):
[Assembly: System.Web.UI.WebResource(FILE-PATH,
“application/x-shockwave-flash”)]
Example:
[assembly: System.Web.UI.WebResource("EmbedResources.Clock.swf", "application/x-shockwave-flash")]
5. In Web part code file, you can put the following code inside the RenderContents() method:
(use the FILE-PATH from point 3 above)
This.Page.ClientScript.GetWebResourceUrl(base.GetType(),
FILE-PATH)
Example:
string
path = this.Page.ClientScript.GetWebResourceUrl(base.GetType(), "EmbedResources.Clock.swf");
6. To display the flash put the following script:
string
str = string.Concat(new
object[] {
"<OBJECT
classid=\"clsid:D27CDB6E-AE6D-11cf-96B8-444553540000\"
codebase=\"http://download.macromedia.com/pub/shockwave/cabs/flash/swflash.cab#version=7,0,0,0\"
width=", "120", "
height=", "120", "> <PARAM NAME=movie VALUE=\"",
path,
"\"> <PARAM NAME=wmode
VALUE=\"Transparent\"><PARAM NAME=quality VALUE=high>
<EMBED src=\"", path,
"\" quality=high wmode=\"transparent\"
width=\"", "120", "\"
height=\"", "120",
"\" TYPE=\"application/x-shockwave-flash\"
PLUGINSPAGE=\"http://www.macromedia.com/shockwave/download/index.cgi?P1_Prod_Version=ShockwaveFlash\"></EMBED></OBJECT></p>"
});
writer.Write(str);
Now install the web part solution into your
SharePoint site, but we are not there yet!
The SharePoint Part:
These are pretty much requirements, make sure you
check every point here in order for the swf file to actually run:
1. Install Adobe (formerly Macromedia)
Flash or Shockwave player for your browser.
2. Enable Active-X components
on your browser
3. SharePoint 2010 is a little bit acts
as ‘defensive’ against browser scripts and files. To overcome this, go to
Central Admin -> App. Manag. -> Manage Web App. -> SharePoint 80 -> General Settings -> General Settings -> set the Browser File Handling to “Permissive”
Now, you can add the web part to page and enjoy the
animations J
Note: For embedding resources
inside Sandboxed web part, Joel Jeffery a good post here:


